
How to Sanitize Your Cell Phone Properly Step-by-Step Guide
Understanding the Germ Situation
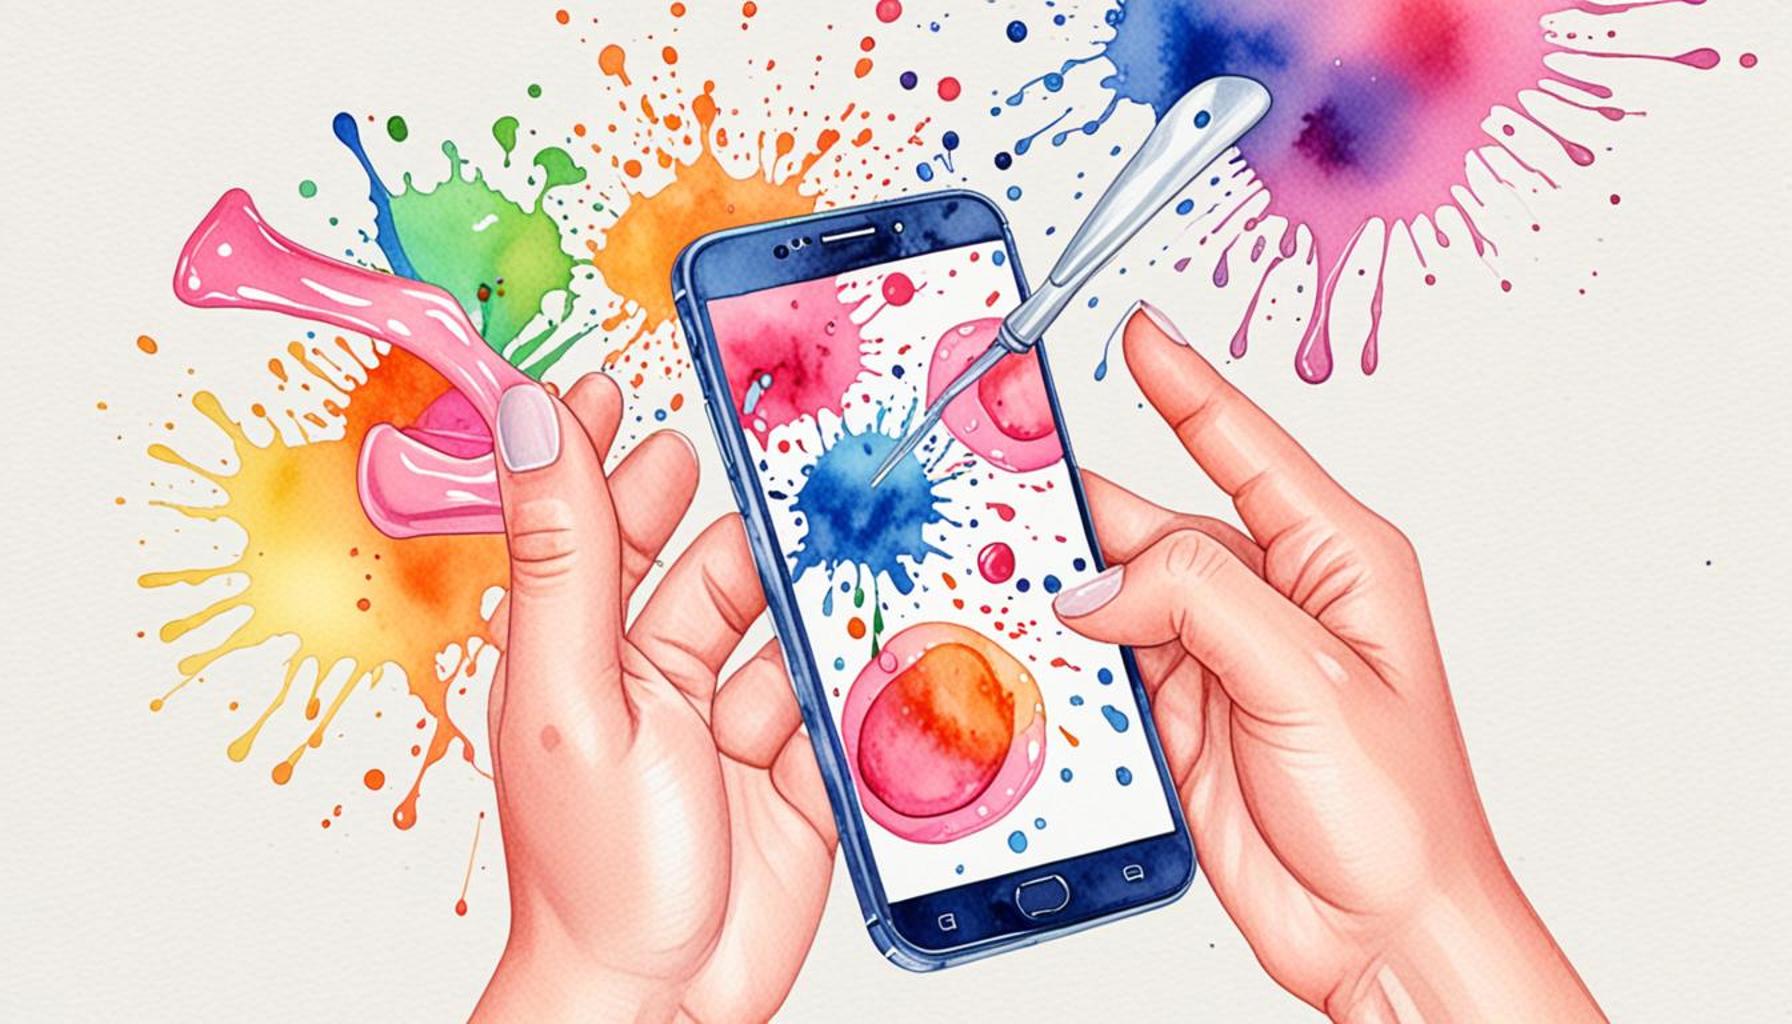
It’s no secret that cell phones have become essential tools in our daily lives. From checking messages to browsing the web, these devices are touched and held numerous times throughout the day. However, with such frequent handling comes an alarming reality: your device is a breeding ground for germs and bacteria. Recent studies indicate that smartphones can harbor more than 25,000 bacteria per square inch. This unsanitary ecosystem can pose serious health risks if your phone is not cleaned regularly.
The Types of Bacteria Present
Several types of pathogens can be found lurking on your phone’s surface. For instance:
- Flu viruses: These viruses can survive on surfaces like smartphones for several hours, potentially leading to the spread of infections among users who share their devices.
- Staphylococcus bacteria: Commonly found on the skin, this bacteria can cause infections, especially in cuts or abrasions, made worse by the transfer from hands to phone and back.
- Foodborne pathogens: If you consume food while using your phone, bacteria from your hands or food can easily transfer onto the device, creating a risk for gastrointestinal illnesses.
The Frequency of Use and Its Importance
The average American checks their phone over 100 times a day. This frequency not only increases exposure to harmful microorganisms but also amplifies the potential for illness. The ubiquity of smartphones makes proper sanitation critical for maintaining your health and the health of those around you. Imagine how many surfaces you touch throughout the day—doorknobs, elevator buttons, and public transportation—only to then grab your phone shortly afterward. This cycle of contact intensifies the need for a reliable cleaning routine.
Effective Cleaning Practices
Understanding how to properly sanitize your device can greatly reduce your risk of falling ill. Here are some essential tips on effective cleaning practices:
- Cleaning materials: Use microfiber cloths and disinfectant wipes that are safe for electronics. Avoid harsh chemicals that can damage screens or coatings.
- Frequency: Aim to sanitize your phone at least once a day, especially during flu season or after outings when you’ve used your phone often.
- Technique: Start by turning off your device, then wipe the surface with a dampened microfiber cloth followed by a dry cloth to avoid streaks. Make sure to pay extra attention to buttons and edges where bacteria are more likely to accumulate.
Conclusion
By integrating these cleaning practices into your daily routine, you can ensure your smartphone is not only visually clean but also hygienically safe. In a world where our gadgets play a pivotal role in connecting us with others, a small effort toward proper sanitation can go a long way in promoting personal health. As we navigate our interconnected lives, remember that a clean phone is a healthy phone—take the time to care for it!
CHECK OUT: Click here to explore more
Choosing the Right Cleaning Supplies
Before diving into the actual process of sanitizing your cell phone, it’s crucial to select the appropriate cleaning materials. Using the right supplies not only ensures that your phone is sanitized effectively but also prevents damage to its delicate components. Here’s a breakdown of what you should consider:
Safe Cleaning Options
When it comes to maintaining your device’s hygiene, there are various options available:
- Microfiber Cloths: A soft microfiber cloth should be your primary tool for cleaning. These cloths are designed to lift dirt and bacteria without scratching the screen, ensuring a safe and efficient clean.
- Electronics Disinfectant Wipes: Look for disinfectant wipes specifically labeled as safe for electronics. These wipes can effectively kill up to 99.9% of germs and viruses, making them ideal for regular phone sanitation.
- 70% Isopropyl Alcohol: For a deeper clean, consider using a solution of 70% isopropyl alcohol. This concentration is highly effective at disinfecting surfaces while being safe for many smartphone screens—just ensure you avoid any openings to prevent moisture from seeping inside.
- Spray Bottles: If you prefer a DIY approach, you can mix equal parts distilled water and alcohol in a spray bottle. Just remember to lightly mist the cloth rather than spraying directly on the phone to prevent damage.
What to Avoid
While various cleaning solutions are available, not all of them are safe for your smartphone. It’s essential to avoid:
- Harsh Chemicals: Cleaning agents containing ammonia, bleach, or other harsh chemicals can damage your phone’s screen and protective coatings.
- Paper Towels: Though they may seem convenient, paper towels can be abrasive and may scratch your screen over time.
- Excessive Moisture: Be cautious with any damp cleaning materials. Too much moisture can damage the internal components of your phone.
Setting Up Your Space
As you prepare to sanitize your smartphone, it’s also important to set up a clean environment for the process. Choose a flat surface free from clutter, as this will help prevent accidental drops or damaging spills. Make sure to have your cleaning supplies readily accessible, and consider wearing gloves if you want an added layer of protection from germs during the cleaning process.
By selecting the right cleaning supplies and preparing your space, you are taking the first significant step toward maintaining a sanitary device. Understanding what to use and what to avoid will not only ensure your phone remains functional but also promote a healthier lifestyle.
| Sanitization Method | Key Benefits |
|---|---|
| Alcohol-Based Wipes | Effectively kills germs and viruses, including harmful pathogens. |
| UV Sanitizers | Provides a chemical-free method that can reach difficult areas. |
| DIY Cleaning Solutions | Cost-effective and customizable to suit various phone types. |
| Microfiber Cloths | Prevents scratches while cleaning, ensuring screen clarity. |
Thoroughly sanitizing your cell phone is more important than ever in today’s health-conscious world. A significant number of bacteria can thrive on the surface of your device, so adopting proper sanitization methods can greatly reduce the risk of illness. Consider using alcohol-based wipes as they effectively eliminate bacteria and viruses that may linger on your phone’s surface. For a non-chemical approach, UV sanitizers have gained popularity, leveraging ultraviolet light to kill germs, making them safe and highly effective. Another viable option is creating your own DIY cleaning solution using household ingredients like water and vinegar, which can be adapted for different phone materials without breaking the bank. Make sure to use microfiber cloths to wipe down your device; these are designed specifically to be gentle and scratch-free, ensuring that your screen remains intact and clear. With these various methods, it’s essential to regularly sanitize your phone to maintain a healthy device and protect your well-being.
SEE ALSO: Click here to read another article
The Step-by-Step Sanitizing Process
Now that you’ve gathered the right supplies and prepared your workspace, it’s time to get down to the nitty-gritty of sanitizing your cell phone. Following a systematic approach will ensure you don’t miss any crucial steps, and it will help you achieve the cleanest result possible. Here’s a detailed step-by-step guide:
Step 1: Power Off Your Device
Before you start cleaning, switch off your cell phone and unplug it from any chargers or accessories. This not only helps protect your device from any accidental actions during the cleaning process but also minimizes the risk of electrical damage if any cleaning solution seeps into the device.
Step 2: Remove Cases and Accessories
Take off any cases, screen protectors, or accessories attached to your phone. These items can harbor germs and dirt themselves, so it’s essential to clean them separately. You can soak silicone or plastic cases in warm, soapy water while disinfecting the phone itself.
Step 3: Clean the Screen
Using a soft microfiber cloth, gently wipe the screen and surface of your phone. For stubborn spots or fingerprints, lightly mist the cloth with your 70% isopropyl alcohol solution or electronics cleaning wipe. Never spray directly onto the phone to avoid any moisture entering openings such as the charging port or speaker grille.
Step 4: Disinfecting Time
In this step, utilize your disinfecting wipes or saturated cloth. Wipe down all surfaces of your phone, including the back, sides, and around the camera lens. It’s crucial to give special attention to the buttons and any grooves where dirt can accumulate. Ensure that the surfaces remain damp for at least 10 seconds to effectively kill germs and bacteria.
Step 5: Clean the Case
While your phone is drying, now is the perfect time to clean its case. Use a disinfectant wipe or the soapy water solution mentioned earlier. Make sure to dry it thoroughly before reuniting it with your phone. This step ensures that no moisture remains that could transfer back onto the device.
Step 6: Reassemble Your Phone
Once both your device and its case are fully dried, carefully reassemble them. Ensure your phone case is completely dry before placing your phone back inside it. This will help maintain a sanitary environment and protect the surfaces from any contaminants.
Step 7: Wash Your Hands
After completing the sanitization process, take a moment to wash your hands thoroughly with soap and water. Doing this minimizes the risk of transferring germs back to your freshly cleaned phone. Remember, the hygiene of your hands plays a critical role in maintaining the overall cleanliness of your device.
It’s recommended to sanitize your phone regularly—ideally daily—to keep those harmful bacteria at bay. By integrating this sanitization routine into your daily life, you contribute to your overall health and protect yourself from potential germs that make their way into your personal space.
SEE ALSO: Click here to read another article
Conclusion
In a world where our cell phones have become extensions of ourselves, maintaining their cleanliness is no longer just an option—it’s a necessity. The simple act of sanitizing your cell phone can significantly reduce the risk of transmitting harmful bacteria and viruses. By following the step-by-step process outlined in this guide, you not only enhance your device’s longevity but also protect your health and the health of those around you.
It’s crucial to recognize that our phones encounter various surfaces and hands throughout the day, becoming hotbeds for germs. By dedicating a few minutes each day to establish a routine sanitation practice, you’re taking proactive steps toward a healthier lifestyle. Remember, using the right materials—like disinfecting wipes and isopropyl alcohol solutions—is essential for effective cleaning. Moreover, never overlook the importance of washing your hands post-cleaning, reinforcing the hygiene chain.
As you incorporate this habit into your daily routine, consider exploring other facets of personal hygiene and wellness. Investigating further into related topics, such as backpack cleanliness or workstation sanitization, can provide additional layers of protection in your daily life. The digital age offers myriad conveniences, but they also require our vigilance to ensure a safe and healthy experience. In essence, a clean phone reflects a clean lifestyle—let it be part of your routine!